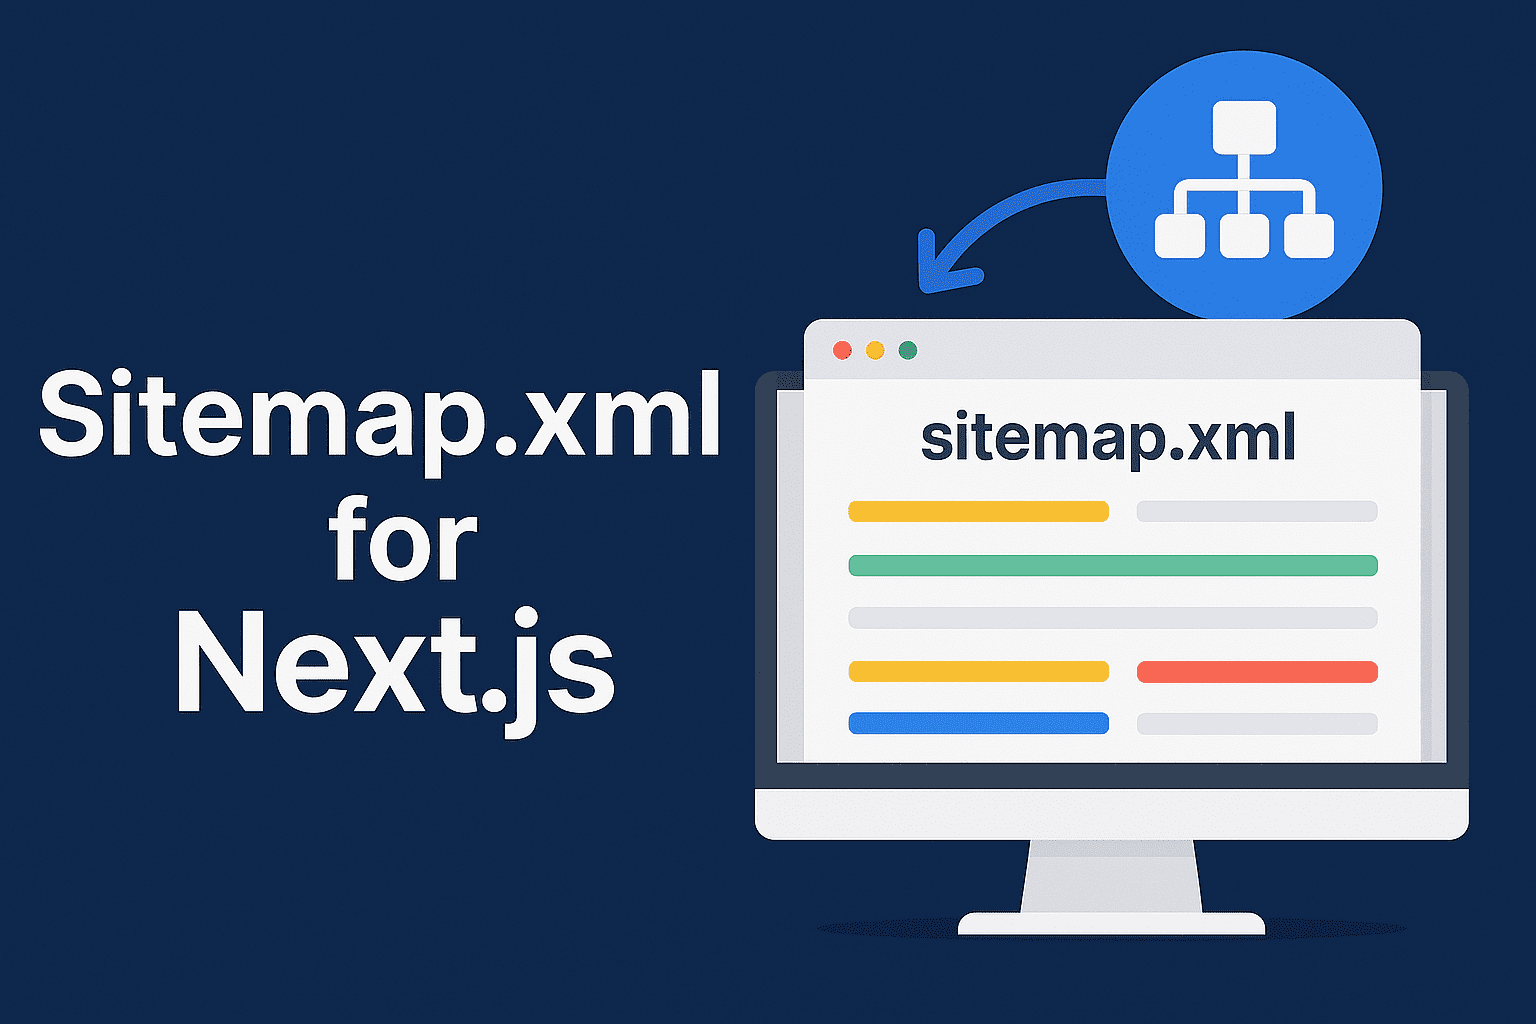
Sitemap.xml for Next.js: Boost Your SEO
A sitemap.xml is essential for helping Google and other search engines discover and crawl all your important pages. For a Next.js website, generating and submitting a sitemap improves indexing speed and SEO visibility.
Here’s why and how to handle it:
Why a Sitemap Matters
– Lists all your key pages for better discovery
– Helps with new pages or updates being indexed faster
– Vital for large sites, blogs, and eCommerce
– Supports multi-language or dynamic routes
How to Set Up Sitemap.xml for Next.js (No Code Version)
1. Use an Automated Sitemap Generator:
– Install & configure a plugin like:
🔹 next-sitemap (most popular)
🔹 sitemap.js (for advanced use)
2. What It Does:
– Automatically creates sitemap.xml at build time
– Supports dynamic routes (e.g., /blog/[slug])
– Handles multi-language & priority settings
3. Customize It:
– Set change frequency (e.g., daily, weekly)
– Prioritize important pages (e.g., homepage, key landing pages)
– Exclude unwanted paths (e.g., admin pages)
Submitting Your Sitemap
– Upload your site & sitemap to production
– Go to Google Search Console > Sitemaps
– Enter: https://yourdomain.com/sitemap.xml
– Monitor for errors and coverage
Pro SEO Tips:
– Keep your sitemap updated automatically with every build
– Always ensure no broken links or 404s in your sitemap
– Pair it with a good robots.txt file for better crawl control
💡 Bottom Line:
A sitemap is simple but powerful—make sure every Next.js site you build has one to boost SEO performance and ensure faster, more complete indexing.